People are commonly introduced to bonsai through ‘bonsai seed kits’. These kits provide you with a few different varieties of seeds, usually a coir pot with some soil and some instructions. These can be pretty good to start with, introducing you to the cultivation of growing bonsai from seed – however, realistically, it could take around 10-20 years to produce an actual bonsai. Growing bonsai from a seed kit is an excellent way to start, but let’s explore how you can keep those seedlings alive!
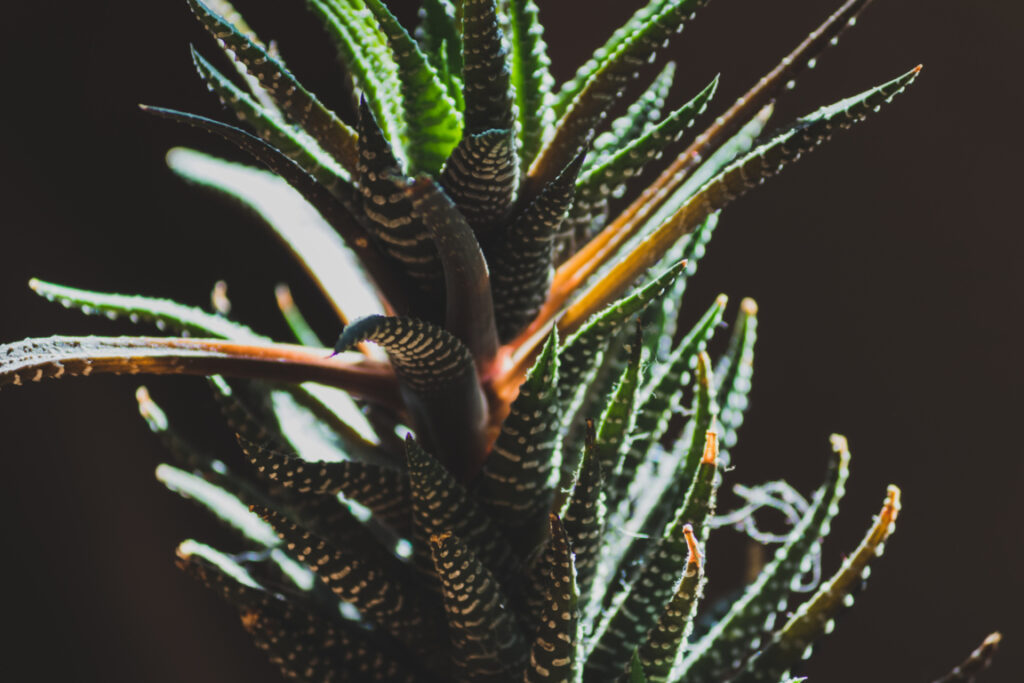
Before we get into this, you should know that ‘bonsai seeds’ aren’t real! You can make a bonsai out of any tree seed if it has suitable characteristics such as small leaf size and good tolerance to root pruning etc. Sellers will often charge inflated prices for ‘bonsai seeds’ and may alter the colors of the leaves to blue – selling them as ‘rare’. These aren’t real, and you should stay away from them!
Now, let’s explore how you can use that seed kit to get to growing bonsai!
Step 1: Seed Preparation
Hold on! Don’t sow those seeds immediately. It’s likely that the seeds will need to be prepared first with something such as a stratification period or scarification. Research what species of seed you have – if it’s something such as black pine, crabapple or a cherry tree, it’s likely that it’s going to need a period of stratification.
Stratification is giving the seed a cold period for a certain amount of time. This will differ from species to species, with some not requiring any stratification, such as wisteria or fourteen weeks, such as hawthorn.
Scarification damages the outer layer of the seed, allowing it to germinate. This is usually done by soaking the seed in a hydrogen peroxide solution or brushing it with sandpaper. Species like acacia will need this.
Getting the Seed Ready
Now that we’ve established what you need to do let’s review how to do it. First, you should let the seeds sit in water for 24 hours. Any floating seeds should be removed from the planting batch, only sowing the seeds that sink to the bottom. The floaters usually don’t germinate as well, but you can give it a go if you’d like!
After 24 hours, you can prepare to put the seeds away for a while. If your species need stratification, there are two methods. You can put the seeds on a damp paper towel and cover them with a plastic bag, leaving them in the fridge for the designated amount of time. Or, you can plant them in a combination of compost, sharp sand and perlite with a plastic bag over it, leaving it in the fridge again. I like to use the first method, but some people opt to use the second method.
Now, patience! The most frustrating part is waiting weeks and months for your seeds to be ready, but it’s worth it when you get around to sowing them. It’s best to start the stratification period around autumn as this gives the seeds enough time, allowing you to plant them in the spring.

These are some quince, hawthorn and crabapple seeds I’ve recently begun stratifying. It’s quite late, but sometimes you just get the urge to start seeds so I did! As you can see, they are wrapped in damp paper towel, covered in a plastic bag and then put in a container where they are then kept in the fridge for a certain period of time. In this case, it’s going to be around 14 weeks.
Step 2: Sow, Sow, Sow!
It’s finally time! After the seed has been stratified for the specific amount of time required, you can get to sowing them. This will still apply if the species of seed you are sowing does not require any stratification.

You’ll need to remove them from the fridge, remove them from any covering you put them under, and prepare a soil mix. I like to use a combination of compost, perlite or vermiculite and sharp sand. When sowing seeds, it’s best to do them in trays or multiple seeds in a pot. However, your seed kit may have provided you with a coir pot and some expanding soil, so you can also use that! Simply follow the instructions.
When your tray or pot is ready, you can get to sowing. Scatter the seeds across the surface, giving them a bit of space from each other. A few might likely germinate, so it’s best to let them each have a good amount of space. Once this is done, you should cover the seeds with a layer of the seed mix you’re planting them in. Depending on the species, some may require to be planted a bit deeper than others.
After Sowing
Now that you’ve planted your seeds, it’s time to give them the proper care to ensure they germinate. It would be best to keep the soil medium moist, not soggy or dry. If the soil is soggy, the seeds may rot or not receive enough oxygen and won’t germinate. If the soil is dry, the seeds won’t have enough water to germinate properly.
Some species may require to be kept in different amounts of sunlight, so do your research. Most seeds I plant do well in indirect sun, while some may require more hours of sunlight.
Step 3: Shooting Up
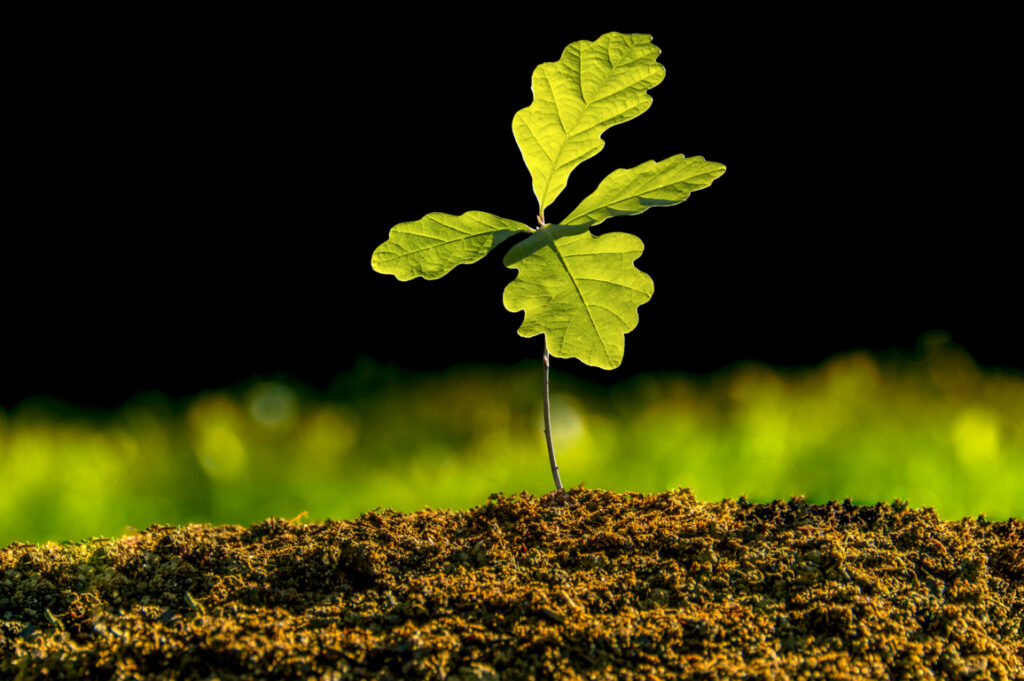
Within a few weeks or months, you’ll hopefully find that those little green shoots have emerged from the soil! What a great feeling, right? You’re now the proud owner of a few tree seedlings, which you’ll hopefully develop into fully-fledged bonsai trees with time.
It’s vital that you now take care of these seedlings properly. Otherwise, they’ll die very quickly. Seedlings are a lot less tolerant than older trees. Therefore they won’t be able to stand factors such as underwatering, overwatering, over-fertilizing or too much sunlight.
As mentioned earlier, you should always aim to keep the soil medium moist. Don’t let it dry out or become too soggy. I check on my seedlings every 1-2 days, depending on the conditions – if it’s a very hot or sunny day, it’s best to check on them multiple times throughout the day to ensure they don’t dry out.
When the seedlings get older, you can move them to a position where they will receive more sunlight, but it’s best always to check the leaves to ensure they aren’t getting burnt. If they start to brown, you should most likely move them to a position with less sunlight and give them a thorough watering.
Step 4: Transplanting Your Seedlings
If you’ve planted your seeds in a tray, you’ll find they might get a bit crowded after a few weeks or months. Once your seedlings have their first true leaves, you can prick them out and plant them in their own separate pots.
To do this, poke around the soil with something such as a chopstick to be gentle. You can then pull the seedling out, being careful not to damage the roots. After this, plant it in a reasonably sized pot with something such as your seed mix or a different combination. I only plant seedlings in organic mixes initially, moving them to an inorganic mix after a year or two.

Growing Bonsai From A Seed Kit: Aftercare
Within a few weeks or months, you’ll find that your seedling might have already put on some growth. This is always lovely to see, and it’s a good indicator that you’re giving the proper seedling care. In this section, I’ll detail how you can care for that seedling and develop it into a bonsai over the years!
Watering
Initially, seedlings will have quite a low water demand. This means you shouldn’t be watering them as frequently as older trees, and instead, I like to use a spray bottle to moisten the soil. You’ll find that in the growing season, though, their water demand might increase slightly, so keep up with this.
As the seedling ages, you’ll have to supply it with more and more water. Otherwise, it’ll die very quickly from underwatering. Many people like to plant their bonsai in inorganic mixes such as akadama or pumice, which have good drainage but don’t retain water, as well as compost. You should note this when you make the switch to inorganic soil.
Fertilizing
Feeding your bonsai tree is a vital part of keeping it alive. Without it, it would grow very slowly and suffer from a lot of deficiencies. Due to being kept in a pot, it won’t be able to get its nutrients from anywhere else except you and that bottle of fertilizer.
I like to use chemical fertilizer as I’ve found that organic fertilizer can stay on the soil surface for a bit too long, but that’s just my preference. For bonsai, essentially any fertilizer will do; however, some people opt for special-made fertilizer with brands such as Naruko or Biogold.
With seedlings, I wouldn’t say I like to fertilize them for the first few months. I’ve found that their roots can burn quite quickly, so I only fertilize them after around 6-12 months. The compost I use is specialized for seedlings, usually supplying them with enough nutrients for their first few weeks or months.
When buying fertilizer, paying attention to the NPK (Nitrogen, Phosphorous, Potassium) ratios is good. Nitrogen will drive growth in the plant, phosphorous will promote the development of fruit and flower buds, and potassium helps transport water and nutrients around the plant. In the growing season, I like to use a fertilizer high in nitrogen to drive a lot of growth, while in autumn, I like to use a fertilizer higher in phosphorous and potassium. This helps prevent leggy and soft growth from being put out, easily killed by frost.
Repotting
Now that your seedlings are out of trays and in their own pot, you’ll find that they might be becoming root bound within a few months or a year. A seedling that is root-bound will suffer and be unable to put on as much growth as usual.
A good indicator of a seedling being root-bound is roots emerging from the drainage holes or the roots circling themselves multiple times. This means that you should repot the seedling as soon as possible, preferably in spring.
To repot the seedling, you should loosen it out of its pot quite gently while trying not to disturb the roots. If the seedlings are around a year or two old now, you can perhaps work the roots slightly, pruning any that have got too long.
After this, you can plant it in a bigger pot. Don’t plant it in a bonsai pot – as this will restrict its growth, which we don’t want for a seedling. Planting the seedling in too big of a pot will promote overwatering too, so it’s good to find a balance.
Wiring
While it may seem daunting at first, wiring is essential in creating bonsai. Without it, we wouldn’t have many of the specimens we see today. There are two types of wire used; annealed aluminum and copper wire. Aluminum wire is typically used for deciduous trees that can bend and stay in place within a few months of an application of wire, while copper wire is usually for conifers such as pines and junipers, which require a strong wire for an extended period of time.
With seedlings, it’s best to use aluminum wire. It’s cheaper and a lot easier to work with, plus most seedlings will bend very easily and won’t require something as strong as copper wire. I’m not eager to wire my seedlings immediately. Instead, I prefer to wait a few months or a year before I apply wire. I like to let the seedlings grow as much as possible and get established before doing any bonsai development.

Development Over Time
Hopefully, you’ve got a good idea of how to take care of your seedlings now. Growing bonsai from a seed kit is how I started the hobby, but getting some trees that are a bit further along is good. Getting as much material as possible gives you a lot of stuff to do and experience to gain, allowing you to progress faster. Waiting for seedlings to grow can take years, and it’s a slow experience!
Over time, you’ll learn more advanced techniques to develop your bonsai. It can seem confusing and complicated at first, but with enough experience and trying, you’ll eventually get the hang of it. You’ll learn new key terms such as ramification, back-budding and grafting. These are all important, and they’re good to understand if you want to really progress in bonsai.
Frequently Asked Questions (FAQ)
How do I know if the seeds I’m buying are fake?
It’s relatively easy to tell if the seeds are fake. There is usually an image of a tree with drastically coloured leaves, such as a deep blue. This is generally followed by a description describing it as ‘rare’ and ‘unique’. Unfortunately, no trees or plants produce these true colors in nature. The closest we can get to these beautiful colors are with trees such as maples, especially the cultivar ‘Deshojo’. These produce a stunning, deep red and orange leaf which many people enjoy.
Is there any other way to make a bonsai tree?
Of course! It doesn’t just have to be from seed. There are many other methods, such as taking cuttings, grafting, air-layering and many more. You can even buy them from garden centers or specialist nurseries – one of my favorite things is to purchase raw materials and develop them into bonsai! When propagating bonsai, my most used method is usually cuttings. I find this to be the most straightforward process and a lot faster than seeds. However, some people will use seeds to mass produce trees or get twists and bends in the trunk early.
What should I do if my seeds aren’t germinating?
If your seeds aren’t germinating, consider the conditions you’re giving them. Are they getting enough water? Are they getting too much water? Are they not getting enough sunlight? These are all important questions; unfortunately, seeds can be pretty picky sometimes. It’s best to research the species you are trying to cultivate, as many growers can offer very specific advice you would never think of. Usually, you can also tell the conditions a seed needs by finding out where the trees are native to and the climate they live in!
How long will it take for my seedling to become a bonsai?
Unfortunately, your seedling won’t just become a bonsai. You’ll have to give it years of proper care and development to be considered a bonsai, constantly going through wiring and repotting. From seed, it can take around 10-20 years for a seedling to start looking remotely like a bonsai. It’s best to be patient, as we don’t want a bonsai that has the thickness of a match stick. You can speed this up by planting it in the ground, which will considerably thicken the trunk much quicker than in a pot. However, you’ll still have to develop the branches and ramification etc.!