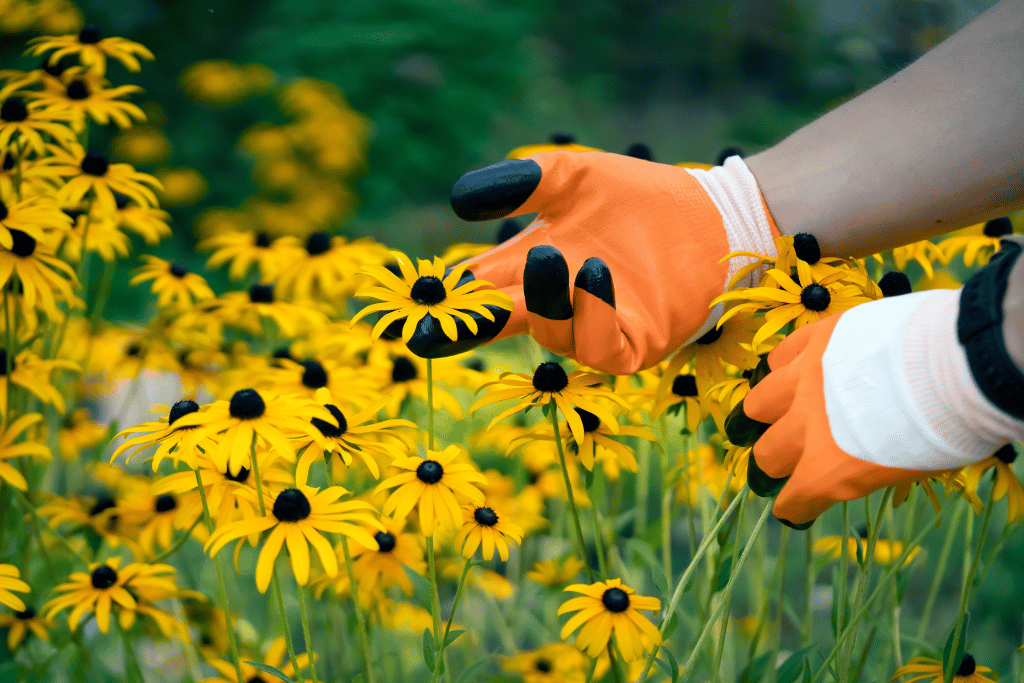
Have you ever strolled through a field of Black eyed susan flowers and marveled at their beauty? The vibrant yellow petals with contrasting dark centers are simply captivating.
But did you know that these cheerful blooms are more than just a pretty face? Harvesting seeds from Black Eyed Susans is a simple way to ensure their continued growth and enjoyment in your garden or outdoor space.
Personally, I’ve always been fascinated by the natural world, and there’s something particularly special about watching a plant grow from a tiny seed.
And let’s be honest, who doesn’t enjoy the reward of growing something from scratch? There’s something so fulfilling about watching a plant flourish under your care; it all starts with a simple seed.
So if you’re ready to roll up your sleeves and get your hands dirty, let’s dive into the exciting world of harvesting Black Eyed Susan seeds!
When to Harvest Black Eyed Susan Seeds
Now that we’ve piqued your interest in Black Eyed Susan seed harvesting let’s take a look at when and how to do it.
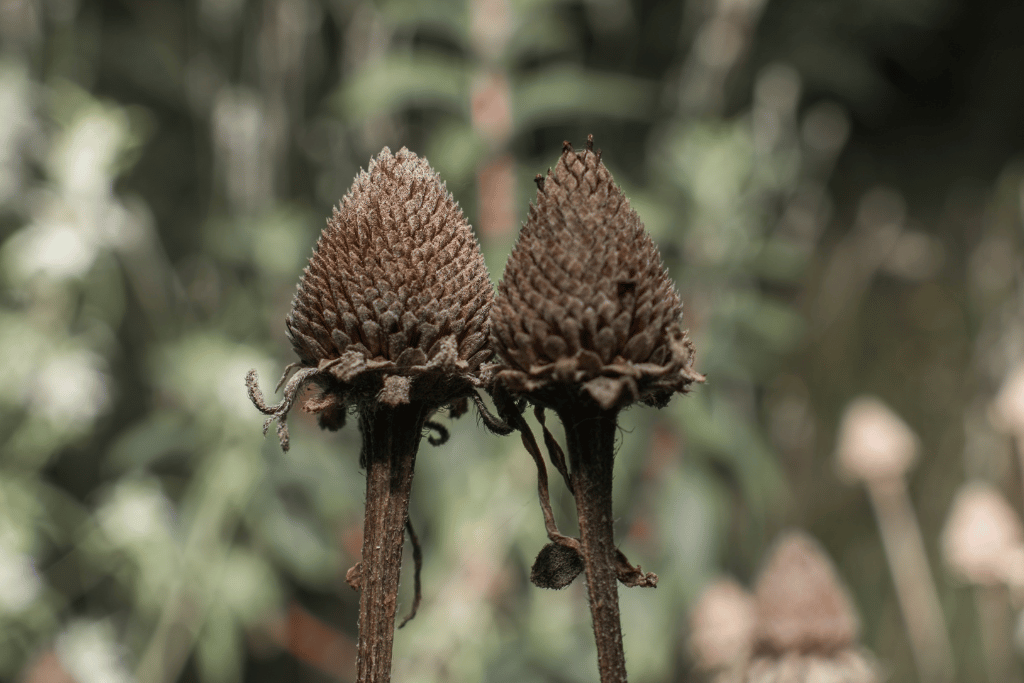
Firstly, it’s important to determine when the seeds are mature enough to harvest. One way to tell is by examining the flower head. When the petals begin to wilt and fall off, you’ll notice the center of the flower turning brown and forming a cone-shaped seed head. This is a good indicator that the seeds are ripe and ready to harvest.
Another way to check if the seeds are mature is by gently shaking the seed head. If you hear a rattling sound, the seeds are likely ready to be harvested. Don’t worry if you accidentally shake off some of the seeds; they’ll still be useful for planting!
When it comes to timing, the best time to harvest Black Eyed Susan seeds is in the late summer or early fall when the flowers have finished blooming, and the seeds have had time to mature. It’s important not to wait too long, as the seeds can start to fall out of the head and scatter on their own.
Remember, timing is everything Just like with cooking, it’s all about timing. You want to catch the seeds at just the right moment when they’re fully mature before they disperse on their own. It’s like playing a game of catch with a toddler- you have to be quick and nimble!
So put on your gardening gloves and grab your seed harvesting tools and head out the garden to harvest those Black Eyed Susan Seeds at just the right time. Your future garden will thank you for it!
How to Harvest Black Eyed Susan Seeds

Now that you know when to harvest Black Eyed Susan seeds, let’s look at how to do it.
First of all, gather your materials. You’ll need the following:
- Garden Scissors
- Paper bag or an Envelope
- Clean, dry surface for processing the seeds
Once you have your materials, follow these simple steps:
- Cut the seed heads from the plant using your garden scissors. Make sure to leave a bit of the stem attached to the seed head for easier handling.
- Place the seed heads in a paper bag or envelope. This will catch any seeds that might fall out during transport.
- Label the bag or envelope with the date and plant name to keep track of your seed collection.
- Store the bag or envelope in a dry, cool place for a few weeks. This will allow the seeds to dry out and separate from the seed head.
- Once the seeds have fully dried, pour the content of the bag or envelope onto a clean, dry surface. Separate the seeds from the seed head by gently rubbing them between your fingers.
- Discard any debris or empty seed pods, and transfer the seeds to an airtight container for storage.
And that’s it! Harvesting Black Eyed Susan seeds is a simple and rewarding process.
But wait, there’s more!
Here are a few tips for a successful seed harvest:
- Don’t harvest the seeds on a rainy or humid day, as moisture can cause the seeds to mold or rot.
- Make sure to label your seed collection with the date and plant name so you can keep track of your progress.
- If your harvesting your seeds from multiple plants, keep them separate to ensure genetic diversity in your garden.
- Be patient – it can take a few weeks for the seeds to fully dry out before they’re ready for storage.
Storing Black Eyed Susan Seeds
Congratulations on successfully harvesting your Black Eyed Susan seeds! Now that you’ve put in the effort to collect them, it’s important to properly store them to ensure their viability for future planting.
Preparing the Seeds for Storage
First of all, let’s take a look at preparing the seeds for storage. Make sure to remove any debris or empty seed pods from your seed collection. You can do this by sifting the seeds through a mesh screen or simply by hand-picking any unwanted materials. Once you’ve cleaned your seeds, transfer them to an airtight container, such as a glass jar with a tight-fitting lid or a resealable plastic bag.
Ideal Seed Storage Conditions
Next, let’s have a look at the optimal conditions for seed storage. Black Eyed Susan seeds can remain viable for up to five years if stored properly. Keep your seed container in a cool, dry place with a stable temperature between 32-41F (0-5C) to ensure longevity. A refrigerator or basement storage room would be ideal. Avoid exposing your seeds to direct sunlight or moisture, as these can decrease their viability.
Out of sight, out of mind doesn’t apply to seed storage; it’s important to check on your stored seeds regularly to make sure they’re still in good condition.
You can do this by opening the container every few months and inspecting the seeds for any signs of mold, insect damage, or other issues. If you notice any problems, discard the affected seeds and adjust your storage conditions as needed.
And there you have it! With a little effort and some proper storage techniques, you can enjoy the beauty of Black Eyed Susan flowers year after year. So go ahead, label your container with the date and plant name, and tuck it away in a cool, dry place.
Planting Black Eyed Susan Seeds
Now that you’ve successfully harvested and stored your Black Eyed Susan seeds. It’s time to plant them and watch them grow into beautiful flowers.
Here’s what you need to know to get started.
Prepare the Soil

First, let’s talk about preparing the soil. Black Eyed Susan plants prefer well-draining soil that is slightly acidic to neutral in pH. You can test your soil’s pH level with a simple home test kit available at most gardening centers.
If your soil is too acidic, you can add some lime to raise the pH level. If it’s too alkaline, add some sulfur to lower the pH level. Make sure to mix the amendments into the soil thoroughly before planting.
Planting
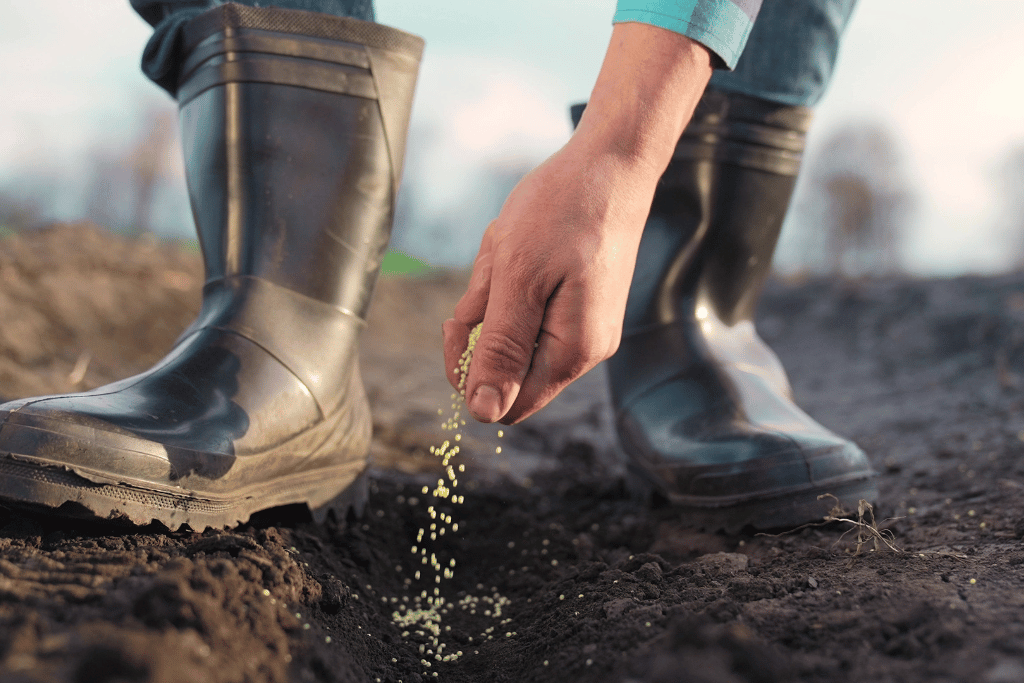
Now onto the planting instructions. Black Eyed Susan seeds can be planted in spring or fall, depending on your climate. In areas with a cold winter, plant the seeds in the spring after the danger of frost has passed. In warmer climates, you can plant the seeds in the fall for a head start on the growing season.
To plant the seeds, simply scatter them on the surface of the prepared soil and lightly press them down. Don’t bury them too deep, as they need light to germinate. Water the seeds gently but thoroughly to settle them into the soil.
Don’t put all your eggs in one basket- scatter the seeds over a wider area to increase the chances of successful germination. If you’re planting a garden bed, space the seeds about 12 inches apart. If you’re planting in containers, use a container with drainage holes and fill it with well-draining potting soil.
Now it’s time to sit back and wait for your seeds to sprout. Black Eyed Susan seeds typically take about two to three weeks to germinate. Once they’ve sprouted, make sure to water them regularly and keep the soil moist but not waterlogged.
The Secrets to Harvesting Black Eyed Susan Seeds Unlocked:
Overall, you should have a good understanding of how to successfully harvest, store, and plant these beautiful flowers.
Seed saving is a great way to ensure you have a constant supply of Black Eyed Susans fit for your garden. Not only does it save you money and a trip to the garden store, but the seeds you collect from your mother plant have endured your garden’s growing conditions. It’s like every season will produce a stronger generation of flowers.
Black Eyed Susans are known for their bright yellow or orange petals with a dark center, and they can bloom from mid-summer all the way through the fall. This makes them a great choice for attracting pollinators like bees and butterflies to your garden, which in the long run, will help support a healthy ecosystem.
In addition to their visual appeal, Black Eyed Susan seeds are also relatively easy to work with. They don’t require a lot of special care or attention, and they can grow in a variety of soil types and lighting conditions. Plus, harvesting and planting your own seeds is a cost-effective way to expand your garden without breaking the bank.
So what are you waiting for? Get out there and start harvesting those Black Eyed Susan seeds! And remember, if at first, you don’t succeed, try again. Gardening is a process, and sometimes it takes a bit of trial and error to find the sweet spot for you and your plants.
Ready to Join a Green Revolution?
We love to share all our plant knowledge with you and have kept our website fully stocked with all the tools you need to create a backyard paradise.
Don’t be-leaf us? Check out our planting pages for all the tips on keeping your green babies looking their best.
Frequently Asked Questions (FAQ)
When is the best time to harvest Black Eyed Susan seeds?
The best time to harvest Black Eyed Susan seeds is in late summer or early fall, once the flowers have faded and the seed heads have turned brown.
How do I know if the seeds are ready to be harvested?
The seedheads will turn brown and dry out, and the seeds inside will turn dark brown or black and become hard and brittle.
How do I harvest Black Eyed Susan seeds?
To harvest Black Eyed Susan seeds, cut the seedheads off the plant using sharp, clean scissors or pruning shears. Place the seedheads in a paper bag or envelope and allow them to dry out for several weeks in a cool, dry place. Once the seedheads are completely dry, shake them gently to release the seeds.
Can I collect Black Eyed Susan seeds from wild plants?
Collecting seeds from wild plants is generally not recommended, as this can harm the species’ population in the wild. Instead, consider purchasing seeds from a reputable supplier or collecting seeds from plants in your garden.
How should I store Black Eyed Susan seeds?
Store Black Eyed Susan seeds in a cool, dry place in an airtight container, such as a glass jar or a plastic bag. Be sure to label the container with the name of the plant and the date of harvest.
How long will Black Eyed Susan seeds remain viable?
Black Eyed Susan seeds can remain viable for several years if stored properly. However, the germination rate may decline over time, so it’s best to use the seeds within a year or two of harvesting them.