How can you propagate a monstera without a node? That’s impossible!” But trust me, my plant-loving friend, anything is possible if you set your mind to it. And who wants to follow the same old boring rules anyway? Not me! I’m all about breaking the rules and taking risks. And let me tell you, propagating a monstera without nodes is one risky adventure that’s worth taking.
Need to make your cuttings grow without nodes? It takes a bit of creativity and experimenting – I’ve tried it out and have got the perfect technique down. Sure, it might take you some time to master it, but the sense of satisfaction when those roots start to sprout will be worth all the effort!
So, are you ready to join me on this wild ride of propagating monstera without node? Let’s break some rules, make some mistakes, and create some beautiful new plant babies together!
The Process of Propagating Monstera Without Node
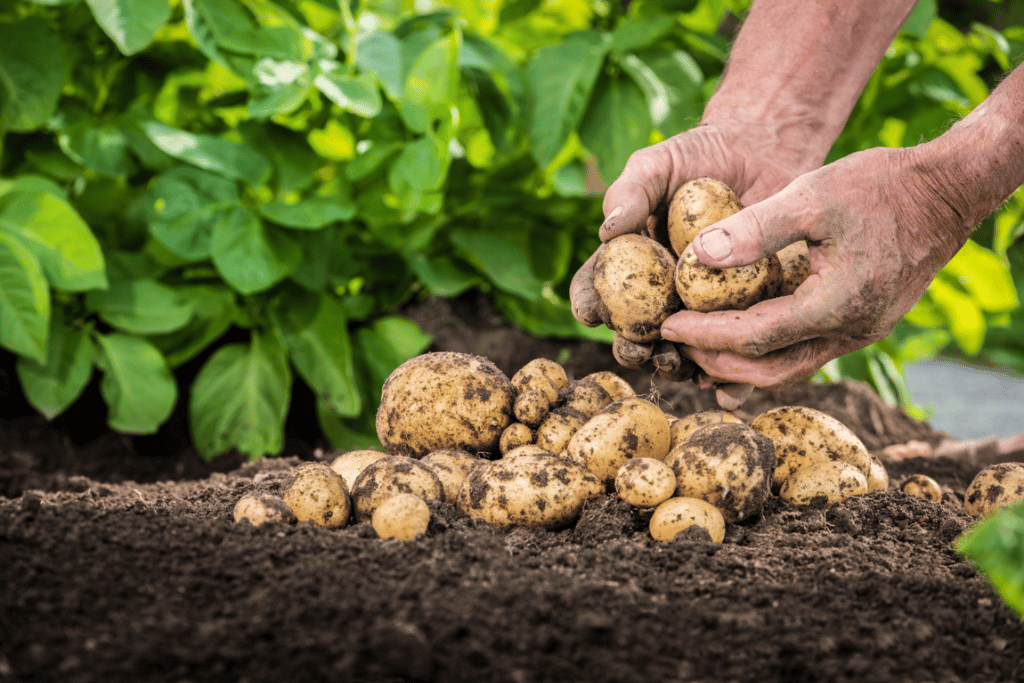
This plant, also known as the Swiss cheese plant, is popular for its unique leaves with holes and splits. With the right techniques, you can quickly propagate your Monstera plant and share it with friends and family. Here is a detailed, fun process of propagating Monstera without a node.
Materials Needed:
- Monstera plant with aerial roots
- Pruning shears
- Scissors
- Water
- Glass jar or vase
- Pebbles or stones
- Potting soil
- Small pot
Step 1: Choose a healthy plant
The first step in propagating Monstera without a node is to choose a healthy plant. Look for a mature plant with several aerial roots. These roots will be important for the propagation process as they will help the plant to establish new roots.
Step 2: Select a stem to propagate
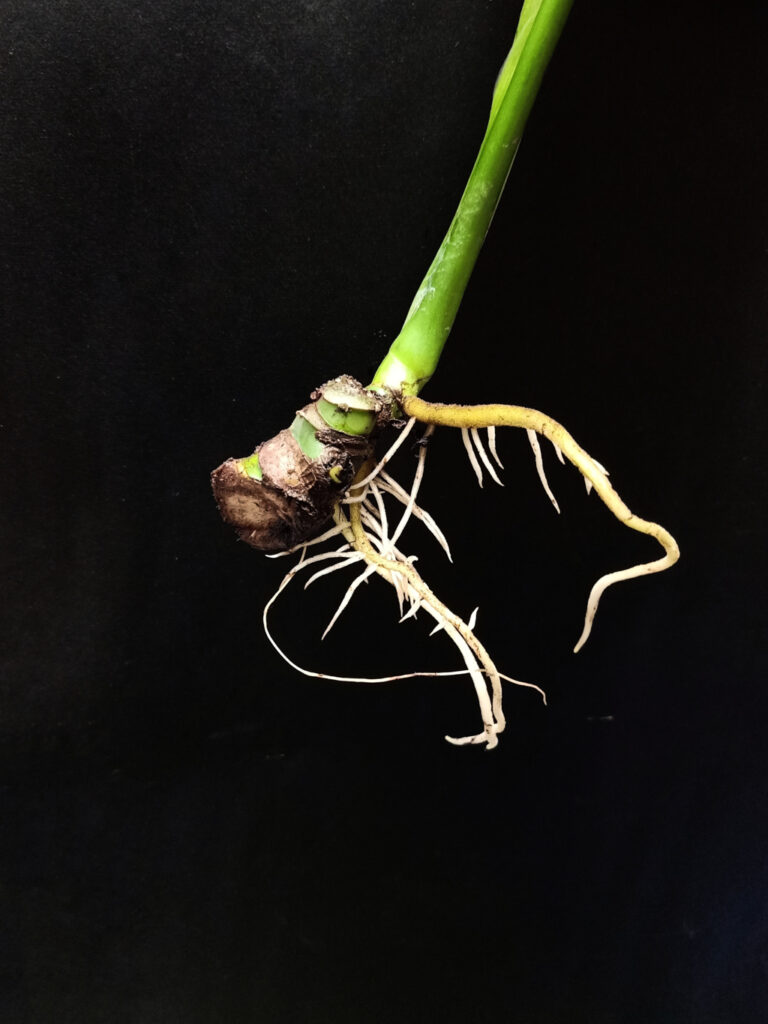
Select a stem on your Monstera plant that has at least one aerial root. This stem will be the one that you will propagate. Use pruning shears to cut the stem just below the aerial root.
Step 3: Prepare the cutting
Using scissors, cut off any leaves near the end of the chosen stem. Be mindful of leaving at least one or two leaves on the end for photosynthesis purposes. Finally, make a clean cut at the bottom of the stem.
Step 4: Place the cutting in water
Fill a glass jar or vase with water and place the cutting in it. Make sure that the aerial root is submerged in the water. You can add pebbles or stones to the bottom of the jar or vase to help support the cutting.
Step 5: Change the water regularly
To ensure that the cutting stays healthy, change the water every few days. This will help to prevent the growth of bacteria and fungi that can harm the cutting. Make sure to use room temperature water when changing it.
Step 6: Wait for roots to grow
Once a couple of weeks have gone by, you should see root growth from the cutting. If the roots are at least an inch in length, then it’s time to get ready for planting your plant.
Step 7: Plant the cutting
Take your cutting out of the water and make sure to shake off any excess liquid from its roots. Then, place it in a pot filled with the soil for monstera, pressing down gently so that it’s secure.
Step 8: Care for the new plant
Your new plant needs some special attention to thrive. Place it somewhere that receives lots of bright light, however, keep it out of direct sunlight. Keep the soil moist (not soggy) by watering as needed; this will help your plant stay healthy and strong.
What’s the Drawback of Propagating Monstera With no Node?
While it’s technically possible to propagate Monstera without a node, there are a few potential drawbacks to this method:
- Slow or stunted growth: Without a node, the cutting may take longer to develop new leaves and may not grow as quickly as cuttings with nodes.
- Decreased likelihood of success: Rooting cuttings without nodes can be more challenging and may not always be successful. The cutting may not develop roots or may be more susceptible to rot or other issues.
- Reduced vigor: Even if the cutting does successfully root and survive, it may not be as strong and healthy as cuttings with nodes. This could result in a smaller or less robust plant over time.
Overall, while it’s possible to propagate Monstera without a node, it’s generally recommended to use cuttings with nodes to increase the chances of success and ensure the health and vigor of the new plant.
The Process of Propagating Monstera Node Without Leaf
When propagating Monstera, you can take stem cuttings that include a node with or without a leaf. The main difference between these two methods lies in the energy source for the cutting and the time it takes to develop roots.
When propagating a Monstera node without a leaf, the cutting does not have any foliage to provide energy through photosynthesis. Instead, the cutting must rely on stored energy in the stem to produce roots and new growth. This means that it may take longer for the cutting to develop roots, as it needs to produce new energy before it can begin to grow.
Materials you’ll need:
- A healthy Monstera plant with nodes
- Sharp and clean pruning shears or scissors
- A small pot or container filled with well-draining soil mix (such as a mix of perlite, peat moss, and vermiculite)
- A clear plastic bag or a propagation tray with a lid (optional)
Step 1: Choose a healthy stem with a node
Choosing a Monstera stem for propagating? Opt for one that is healthy and has at least one node, and isn’t too young or old. The stem should be approximately 6 inches long with a node nearer the tip, about one or two inches down.
Step 2: Cut the stem
Using sharp and clean pruning shears or scissors, make a clean cut on the stem right below the node. Be sure to make a clean and precise cut to avoid damaging the stem.
Step 3: Prepare the stem cutting
Remove any leaves or branches from the stem cutting, leaving only a few leaves at the top. This will help the cutting conserve energy while it develops new roots.
Step 4: Let the cutting callus over
Place the cutting in a warm, dry, and bright location for a few days to allow the cut end to callus over. This helps to prevent the cutting from rotting when it’s planted.
Step 5: Plant the cutting
Once the cut end has callused over, plant the stem cutting in a small pot or container filled with well-draining soil mix. Place the cutting into the soil mix, making sure that the node is buried and the stem is upright.
Step 6: Water the cutting
Water the soil mix thoroughly, making sure the soil is moist but not too wet. Avoid overwatering, as this can cause the cutting to rot.
Step 7: Enclose the cutting
If desired, you can cover the cutting with a clear plastic bag or a propagation tray with a lid. This helps to maintain humidity around the cutting, which can help it to root faster.
Step 8: Monitor the cutting
Place the cutting in a warm, bright, and humid location, avoiding direct sunlight. Check the cutting regularly, watering as needed to keep the soil moist. Be patient, as it can take several weeks for the cutting to develop new roots.
Step 9: Transplant the cutting
Once the cutting has developed roots and new growth, it’s time to transplant it into a larger pot with fresh soil mix. Be sure to acclimate the cutting to its new environment gradually by exposing it to brighter light and less humidity over time.