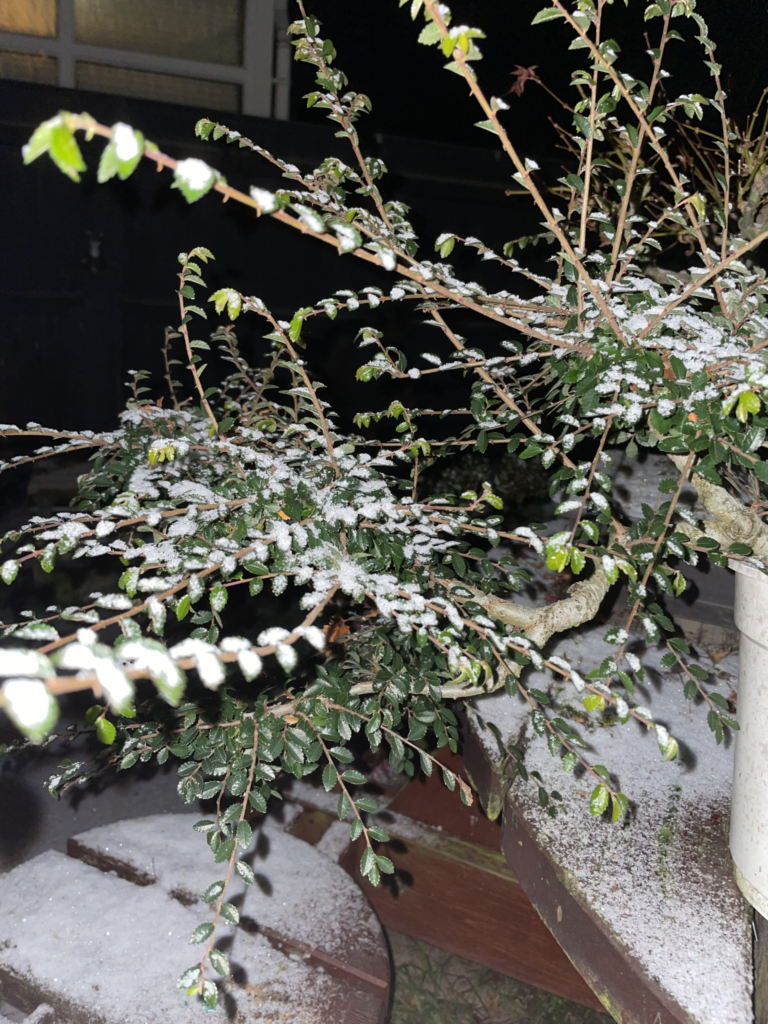
Bonsai is a term for a ‘tree potted in a container’. This Japanese art produces beautiful trees in cleverly manicured shapes that grow in sturdy attractive pots. If you have a bonsai seedling it’s probably sprouting in a standard garden pot. So when do you repot bonsai seedlings?
Let’s find out so your bonsai tree seedling can truly become a bonsai. Growing a mature bonsai tree can take years. It must be constantly watered, pruned, wired, fertilized and repotted. This takes some experience, but it can be easy to get the hang of with enough practice.
Seedlings can have different needs compared to fully grown trees – they’re not as developed and therefore need to be given a bit more care.

In this article, I’ll detail how to take care of bonsai seedlings and repot them properly.
Watering
Bonsai seedlings are going to require less water than thick, older trees. Their root mass is relatively small, and they might not put on large amounts of growth in their starting years, depending on how you care for them.
This will depend on the species, though. Trees such as wisteria seedlings will require quite a lot of water compared to maple seedlings. In summer, I recommend letting wisteria sit in water due to its high water demand.
To water seedlings (or bonsai in general), I like to thoroughly water them for ten seconds, leave them for a minute and then water them again for ten seconds. This ensures the roots have received sufficient water, which is very important for seedlings as they can’t handle a lack of water and older trees.
If you’re unsure how often you should water your bonsai seedling or tree, you should poke your finger an inch deep into the soil. If it’s still wet, you should hold off on watering until it’s a bit dryer. I recommend keeping the soil moist most of the time and only watering when the soil is slightly starting to dry out.
Underwatering
Underwatering can kill a seedling very quickly. A common sign of underwatering is the bonsai leaves turning brown or yellow. This is the plant shedding leaves to try and reduce transpiration (water loss from the leaves) and conserve water.
Overwatering
Overwatering can also kill a seedling, although it might take a bit longer. Overwatering a tree can rot its roots, which means that it won’t be able to function anymore, reducing the effectiveness of osmosis (water movement in the plant).
To reduce the risk of overwatering, you should use free-draining soils such as akadama, pumice, lava rock, grit or kanuma. They all have different properties, but akadama is a very general and useful soil for most bonsai. It can be expensive, but it comes in large quantities, which will last you for quite a while, depending on how many trees you own!
Light
Light is a significant factor in keeping seedlings alive (or any plant). Without light, plants won’t be able to photosynthesise and die very quickly. If they can’t photosynthesise, they can’t produce the energy needed for mechanisms such as osmosis or translocation – vital processes how to keep your bonsai tree alive.
I’ve found that seedlings can’t handle as much light as older trees can, so I like to keep them in partial shade and limit the amount of light they get. Again, it all depends on the species, though. Some can handle a lot of light, such as junipers. This helps to tighten their foliage, improving their appearance.
More light will help drive growth in the plant, so I always ensure that my seedlings get a sufficient amount of light, even if they burn easier than others.
Temperature / Overwintering
Seedlings are a lot more sensitive to the temperature than older trees. If you are propagating a seedling in a warm environment for a while and then suddenly move it out into cold temperatures – this will most likely cause it to lose a few leaves, which could end up killing it.
Seedling leaves are much more tender and sensitive to the cold and light than older trees. When you believe it’s ready to move outside, you should ‘harden it off.
Hardening plants off should be done gradually. This typically happens over a week for me. I move the seedlings out for a few hours into the partial shade, which helps them acclimatize. After a week has passed, I’m happy to leave them outside unless it’s forecast to be very warm or very cold.
A daunting thought is overwintering seedlings or cuttings. This scared me the most when I first began propagating plants, and it still does. The thought of losing all of my seedlings to the weather, which could randomly change at any time, is a sad thought!
I have recently bought a cold frame which I use to overwinter my cuttings. I’ve put it in a partially shaded area of my garden, and I make sure that the temperatures inside it don’t get too hot by ventilating it daily. This also helps to provide fresh air, which prevents diseases such as powdery mildew from striking.
Wiring
I recommend wiring your seedlings/cuttings as early as possible before they stiffen. However, it would be best if you didn’t do it immediately. This could damage them and reduce their rate of survival. I usually wait a few months after they’ve struck to wire them to get an initial shape.
However, you can leave some seedlings for around a year or two before they need to be wired, as you can still get a pretty good shape in them. I’ll have to try this myself!
With seedlings, I recommend using aluminum wire. It’s a lot easier to work with and cheaper. Even with species such as junipers or pines, which typically use copper wire, I use aluminum wire when they’re still very young.
You mustn’t leave the wire on for too long, both on seedlings and at any stage in the life cycle of a tree. It can damage the bark, leaving it prone to disease and ugly wire scars that will stay with the tree for quite a while.
Before I apply wire, I always make sure that I know why I am applying that wire. If I don’t then I won’t apply the wire at all. You should have a brief idea of how the branches or trunk is going to be set out before you apply the wire, and you shouldn’t just needlessly wire whenever you want as this is going to waste both your wire and your time.
When applying wire, you should apply it at a 45-degree angle between coils. This ensures that you can bend it at a good angle and look a lot neater. You should never cross wire either, as this can cut the movement of water in the tree, which could cause a branch to die. Below is how I first wired one of my trees – it pains me to look at it. Never do this!
If you already have wire scars, you should wire in the scars if you need to wire a branch. This prevents any other scars from forming.
To remove the wire, you should use wire cutters. Don’t uncoil the wire with your hand, as this will damage the bark and you risk snapping the section you are wiring.
Fertilizing
Don’t burn those roots! I never fertilize my seedlings for around a year or two after they germinate, as I’ve done this before, and it kills them very quickly. If you’re not going to heed my advice, then at least do it with a weak concentration.
I like to use a liquid seaweed spray on my cuttings and seedlings, which helps them absorb some nutrients and is very good at helping them survive and thrive. I use 5-10ml to a litre of water, which does all of my trees quite well.

Pests and Disease
Unfortunately, pests and diseases are often overlooked when starting seedlings or cuttings. If the seedling or cutting is in a humid, warm environment for quite a long time, this can promote fungus to grow, harming the tree. It would be best if you ventilated the environment you are keeping the seedlings or cuttings in every so often, ensuring that it gets fresh air.
Ventilation is essential in preventing disease. Unfortunately, I learnt this the hard way in the Winter one time when I didn’t ventilate my garage where I kept a lot of my trees. This caused powdery mildew to spread throughout my trees, which was a pain as I had no fungicide on hand, and I had to run to a garden centre to get some quickly.
It wouldn’t have killed off the trees immediately, but it did somewhat affect them. It even spread to my hydrangeas!
Most people will opt for a chemical fungicide – and I do too. I’ve heard of organic fungicides such as milk and water. However, I’ve tried this before on my roses, and this didn’t seem to work, especially in curing black spots.
Disease
The most common diseases of bonsai include black spots, powdery mildew, rust, canker disease, leaf spot and chlorosis.
Seedlings can be greatly affected by diseases. Disease may stay on the actual seed for a while and strike when it germinates, so it’s advised that you sterilize the seed before sowing it. Fungi can also grow in very damp conditions, so make sure that you don’t overwater the seedling.
Pests
Pests can also be a problem for seedlings. If you have stressed the seedlings out through underwatering, overwatering, repotting or lack of sunlight, this can attract pests to the plant very quickly. Some common pests include aphids, vine weevils and spider mites.
Regarding pests, I don’t use chemical pesticides. I’ve found that a mixture of dish soap and water is good enough to eliminate most pests or neem oil. When using chemical pesticides, you should note that this can also kill helpful insects in the garden, such as pollinators (bees, butterflies etc.) which isn’t very good for your garden or the environment in general! Bees are actually on the decline, especially in England – so it’s good that we’re aware of pesticides’ effects on them.
Neem oil is especially effective in getting rid of pests, and it can be found for a low price on most websites.
When to Repot Bonsai Seedlings
One of the most crucial stages in keeping bonsai seedlings is repotting. A lot of people aren’t sure on when to repot bonsai seedlings. Admittedly, I’m a lot more scared to repot older trees than seedlings or cuttings due to the time invested and value, but it still sucks to lose one.
You should only repot seedlings for several reasons, such as lack of water permeability in the soil or if the tree has become highly root bound.
When a seedling is root bound, it essentially means that the roots have encircled the pot many times, and it’s not healthy for the tree.
You should only be repotting seedlings and trees at the right time of year – typically spring for most trees. However, some conifers prefer to be repotted earlier in the year. Some species that can be done in spring include; maples, beech, hawthorn, azaleas and Chinese elm. There are many more; these are just a few named examples.
How to Repot Your Bonsai Seedling
To repot your seedling, you should loosen the tree out of the pot slightly. You can do this by pushing on the bottom of the pot if it’s potted in a plastic pot. If it’s not, you can work the edges of the pot with something like a chopstick to loosen the roots. Once loosened, you should be able to push it out, or it should come out fairly quickly if you tip it at an angle.
After this, I will typically loosen the roots by taking some soil off the edges and bottom of the root mass. Depending on the size of the tree, you should adjust how much you take off. For example, if it’s a 1-2-year-old seedling, you should only take a small amount off. However, if it’s an established tree like 5-6 years old, you can get away with taking quite a bit more off. Some people like to wash the roots by submerging the tree in water, removing any soil around the roots.
Preparing Soil Mixes
Ideally, it would be best to prepare somewhere to repot your tree. I like to use a plant bench. However, you can do it anywhere you’re prepared to clean. Repotting can get very messy!
I prepare my soil mixes before spring, ensuring it’s ready for all my trees to be repotted. I like to use mostly akadama with some pumice mixed in for most of my trees. Many of my younger plants are azaleas, so my acidic soil mix is 40/40/20 kanuma, sphagnum moss and akadama.
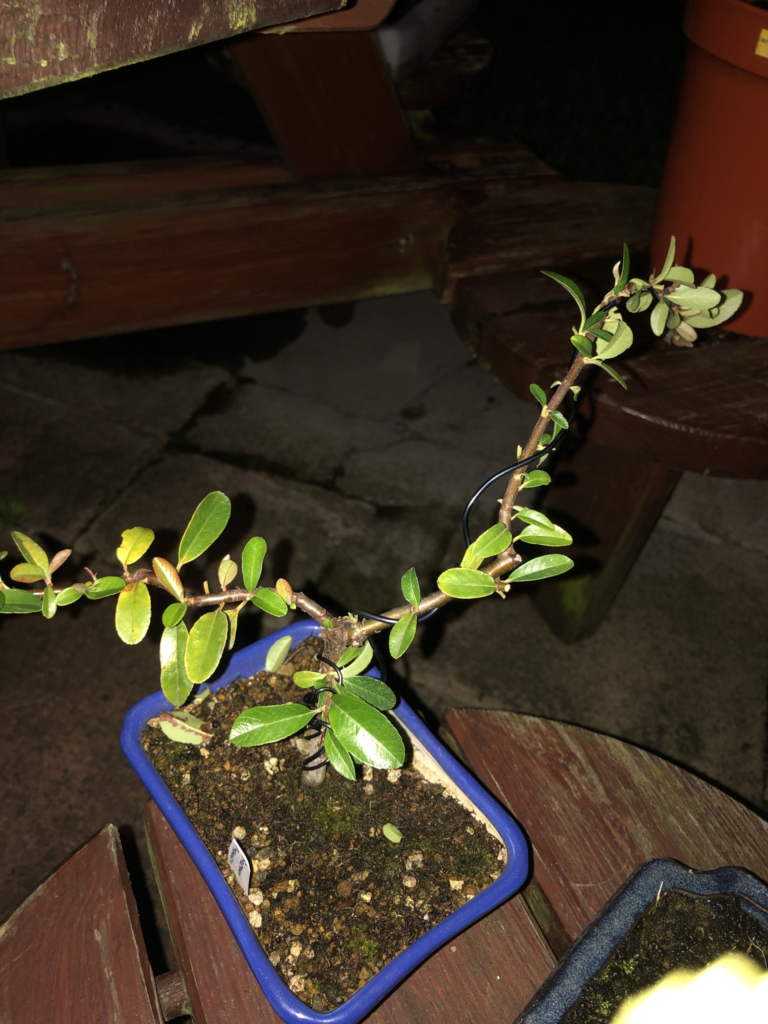
After preparing somewhere to repot the tree, you should also prepare the new pot that the tree is going in. Remember – if it’s a seedling or a cutting, it’ll do much better in an ordinary pot than a bonsai pot. Bonsai pots are meant for established and developed trees to show them off, while younger material should be trained first and not restricted in growth.
To prepare the pot, you should make sure that it’s clean. After this, you should add mesh to the drainage holes, tying them in place with some wire. This prevents any loose soil from falling out, but this can’t be helped on some bigger pots, and it may not be cost-effective to use this method.
Keep That Tree in the Pot!
Depending on the size of the tree, I will also use tie-in wires which will help to keep the root mass in place while it grows into the soil, preventing it from falling out of the pot if, for example, it got knocked over by the wind.
The wire holding the mesh in can be a relatively small gauge, but the tie-in wires should be a higher gauge to ensure that it secures the tree.
After this, you should put a mound of soil in the middle of the pot and wiggle the tree onto the mound. This will ensure the soil gets into the root ball, ensuring there are no air pockets underneath the trunk. I then fill up the tree with more soil.
You must firm the soil into place with something like a chopstick, preventing any air pockets. You should be thorough and ensure that no more soil can be pushed down. Otherwise, this could be bad for the tree down the line. If you find that your soil has become compacted after a while, this can be a good indicator as to when to repot bonsai seedlings.
Aftercare
After the tree is fully repotted, I like to thoroughly water it. In regards to aftercare, I’ll place it in partial shade for a few weeks and ensure it’s not being overwatered or underwatered, which is crucial for a newly repotted tree to survive. It would help if you also watched out for any late spring frosts, which can damage both the roots and the buds. This can kill a lot of seedlings, so whenever it’s forecasted, I make sure to put them in storage for the night. Better to be safe than sorry!
Frequently Asked Questions (FAQ)
What should I do if I’ve taken too much root off my bonsai seedling?
If you’ve accidentally taken too much root off during repotting, don’t panic. As long as you give it proper aftercare, it should be fine. I would recommend putting it in something such as a greenhouse which will help it recover faster. In the future, though, you should take note that you should only take off a small amount of root each time, depending on the size of the tree.
Can I repot bonsai at any other time?
I wouldn’t recommend repotting your trees at any other time than spring. By repotting your trees in spring, you’re making sure that they have time to recover and giving them warm conditions as soon as it transitions into summer. If you repot a tree in summer, you’re going to lose quite a bit of growth that year, and it can have a negative impact on the tree for quite a while. However, you can slip pot your trees, which means just transferring them into a different pot without working on the roots. This can be good for root-bound trees.
How do I know when to repot my bonsai trees?
I usually repot my trees every two to three years if they’re somewhat developed. However, I always make sure to check if they need it first. If the soil isn’t draining correctly, this could be one reason to repot the tree. You can also loosen the tree out of its pot to check if it’s root bound or check the drainage holes below to see if any roots are coming out. This is usually a good indicator of the tree being root bound, which should tell you when to repot bonsai seedlings. I never repot my trees yearly, as this won’t produce a healthy tree. If you’re repotting your tree every year and it seems to be getting root-bound constantly, you should move it up to a bigger pot.
How do I propagate new bonsai trees?
There are various ways to propagate trees – or new plants in general. Some methods include air layering, tip layering, ground layering, branch and stem cuttings or from seed. Air layering is usually used to produce new, thick trees from already-grown branches. You would take the bark off of the part you want to air layer and wrap a lot of wet sphagnum moss around it, holding it in place with a clear bag and using wire to tie it to the tree. After a few months, you should see roots forming, from which you can sever the branch.
Ground layering is generally used for plants such as azaleas. If a branch is touching the soil, or you can provide it with a point of contact with the soil, then you can wire the branch down and strip a bit of bark off so that it makes contact with the soil. After a few months or a year, it should start producing roots, from which point you can sever it.
Branch and stem cuttings are the easiest way to propagate plants. You cut a branch off a tree which is either softwood, semi-hardwood or hardwood (this depends on how long the specific branch has grown) and put it in some soil, giving it warm and humid temperatures with a good amount of light. Striking cuttings can be pretty tricky to get the hang of at first, but once you start to get experience with it, it becomes a precious way to produce new plants for very cheap.
Seed is one of the less common ways of starting bonsai trees – especially since they don’t stay true to the cultivar. However, many beginners will start from seed, especially if they’re tricked into buying a ‘bonsai seed kit. You should note that ‘bonsai seed kits’ are not a thing – bonsai is simply a way of styling the tree. Any tree seed can be grown and styled into a bonsai if it has suitable characteristics, such as small leaves and an excellent response to pruning and repotting.
Can I use compost for repotting bonsai trees?
I don’t recommend using compost for potting bonsai trees. However, some people do use it. For seedlings and cuttings, you can use compost as it would be much cheaper than specialist soil like akadama, but I still prefer free-draining soils such as akadama. Compost can be heavy and hold a lot of water, which can cause root rot, especially if the plant is overwatered.
What tools should I use for repotting?
When it comes to repotting I would recommend quite a few tools. For trees that are very rootbound I recommend a sickle or a knife, which is able to cut through the roots that are really stuck, allowing you to get the tree out of the pot. I also recommend a trusty wooden or steel chopstick, which can be used to poke the soil down and prevent air pockets from forming. You should also have wire cutters and wire to tie the tree down and the mesh. A good set of pliers is also a must-have, especially when you’re tying the tree down and need to make sure that it’s held in tight. Root cutters will come in handy when trying to cut thick, knobbly roots – they make sure that it heals well and looks nice.
Do you know when to repot bonsai seedlings now?
If you’re still unsure on when to repot bonsai seedlings, then I’d recommend you do it in early spring. Some species can be repotted a few months earlier, but you should research the tree you have and see when is the best time to repot. After all, research is critical in keeping trees alive!

