Spider plants (Chlorophytum comosum) are a favorite among plant enthusiasts for their striking foliage, air-purifying properties, and ease of care. Did you know that you can grow these stunning plants from seeds? In this comprehensive guide, I’ll walk you through the entire process of how to grow a spider plant from seeds. Once you’re done reading the article, you’ll have an understanding of their unique seeds, nurturing them into mature plants, and more.
Additionally, I’ll also cover how to care for spider plant seeds and the various propagation methods, including rooting spider plant babies. Let’s dive in and discover the exciting world of spider plant propagation!
Understanding Spider Plant Seeds: A Closer Look
Spider plant seeds may seem inconspicuous, but they hold the promise of vibrant growth. Resembling black bell pepper seeds, these tiny marvels are about the same size and shape. Each seed pod contains 3-4 seeds. A mature spider plant can produce several seeds every year, ensuring a continuous cycle of growth.
How to Grow a Spider Plant From Seeds: Step-by-Step
So, you want to know how to grow a spider plant from seed? It’s simple. With a few simple steps, you can nurture these tiny seeds into thriving plants that will bring beauty and vitality to your space. Let’s walk through the process, step by step, from collecting seeds to harvesting the fruits of your labor.
Step 1: Collecting and Preparing Seeds
The journey begins by observing your mature spider plant. Look for the telltale signs of seed pods – small green heart-shaped balls – along its arching stems. As these pods mature, they turn a gentle shade of brown and delicately open to reveal the hidden treasures within: the seeds. Allow the pods to fully dry on the plant, ensuring they are ready for the next phase.
Step 2: Sowing Spider Plant Seeds
Prepare a pot with soilless seed starting mix, creating little pockets in the soil with the help of a pencil or dibber. These pockets will cradle the seeds gently. Plant the seeds in these pockets, making sure they are nestled just beneath the soil’s surface. Remember, they’re delicate, so handle them with care. Now, it’s time to wait for their first peek through the soil.
Step 3: Germination and Seedling Care
The excitement mounts as you await the arrival of your spider plant seedlings. On average, germination takes around 12-16 days, but patience is key, as some seeds might take a little longer to make their debut. Keep the soil evenly moist during this waiting period. If you have access to a heat mat, placing it beneath the pot can provide the warmth that spurs on germination.
Step 4: Watching the First Leaves Unfold
As the days pass, your patience will be rewarded with the emergence of the seedlings’ first leaves. These miniature versions of the mature plant’s foliage are a heartwarming sight. At this stage, there’s only one leaf to admire, but more are on the horizon. It’s like watching a tiny miracle unfold, reminding us of the wonders of nature’s design.
Step 5: Nurturing Young Seedlings
With the appearance of those initial leaves, your spider plant seedlings are off to a great start. To ensure their health and vigor, provide them with just the right amount of light. Indirect sunlight is their preferred choice, and if natural light is scarce, consider introducing a grow light to keep them thriving.
Step 6: Watering with Care
As your seedlings grow, maintaining proper moisture levels is crucial. Keep the soil consistently moist, but take care not to overwater and drown the delicate roots. A moisture meter can be a helpful ally in gauging the soil’s hydration levels. Aim for that middle range reading to keep your young plants content.
Step 7: Fertilizing for Growth
As your seedlings mature further and boast around 4-5 leaves, it’s time to introduce them to the world of fertilization. Start with a gentle half-dose of a balanced liquid fertilizer. Gradually increase the strength of the dose as they continue to grow. Choose organic options for a nourishing boost that will support their development.
Step 8: Potting Up for a Bright Future
As your seedlings thrive and gain a height of approximately 3-4 inches, they are ready to take their next step – potting up. Transplant them into larger containers using a general-purpose potting mix. This move ensures they have ample space to grow and flourish, setting the stage for their journey to maturity.
Step 9: Harvesting the Fruits of Your Labor
With proper care and attention, your once-tiny spider plant seedlings will evolve into full-grown, vibrant plants. The satisfaction of watching them thrive is a testament to your dedication and nurturing spirit. As your spider plant reaches maturity, you might even witness the emergence of new seed pods, completing the beautiful cycle of growth.
Growing spider plant varieties from seeds is a journey that connects us with the essence of life itself. From collecting and sowing seeds to nurturing seedlings and watching them flourish, each step is a celebration of nature’s beauty and resilience. As you embark on this adventure, you’ll not only grow plants but also cultivate a deeper appreciation for the wonders of the natural world.
Table – Steps on How to Grow a Spider Plant From Seed
| Step | Description | Tips and Notes | Duration |
| 1 | Collect mature spider plant seeds from dried seed pods. | Wait until seed pods turn brown and open naturally. | – |
| 2 | Choose a suitable pot or container for planting. | Use a shallow container with drainage holes. | – |
| 3 | Fill the pot with a well-draining potting mix. | Soilless mix with perlite ensures good drainage. | – |
| 4 | Sow the spider plant seeds on the soil’s surface. | Space seeds evenly for optimal growth. | – |
| 5 | Lightly press the seeds into the soil for firm contact. | Don’t bury the seeds too deep; gentle pressure. | – |
| 6 | Mist the surface with water to settle the seeds. | Use a spray bottle to avoid disturbing seeds. | – |
| 7 | Cover the pot with plastic wrap or dome for humidity. | Maintain high humidity for successful germination. | – |
| 8 | Place the pot in a warm and bright location. | Provide indirect sunlight for optimal conditions. | – |
| 9 | Check for germination after 12-16 days. | Patience is key; seedlings may take time to appear. | 12-16 days |
| 10 | Remove the plastic wrap as seedlings emerge. | Gradually acclimate seedlings to open air. | – |
| 11 | Provide bright, indirect sunlight for seedling growth. | Avoid harsh sunlight that can scorch young plants. | – |
| 12 | Water seedlings gently, keeping soil consistently moist. | Use a spray bottle or bottom watering to avoid disturbing seeds. | – |
| 13 | Begin fertilizing when seedlings have 4-5 leaves. | Use diluted balanced liquid fertilizer. | – |
| 14 | Transplant seedlings to larger pots when they outgrow. | Use pots with drainage for proper root development. | Varies |
| 15 | Continue to care for mature spider plants as they grow. | Regular watering and indirect light for healthy growth. | Ongoing |
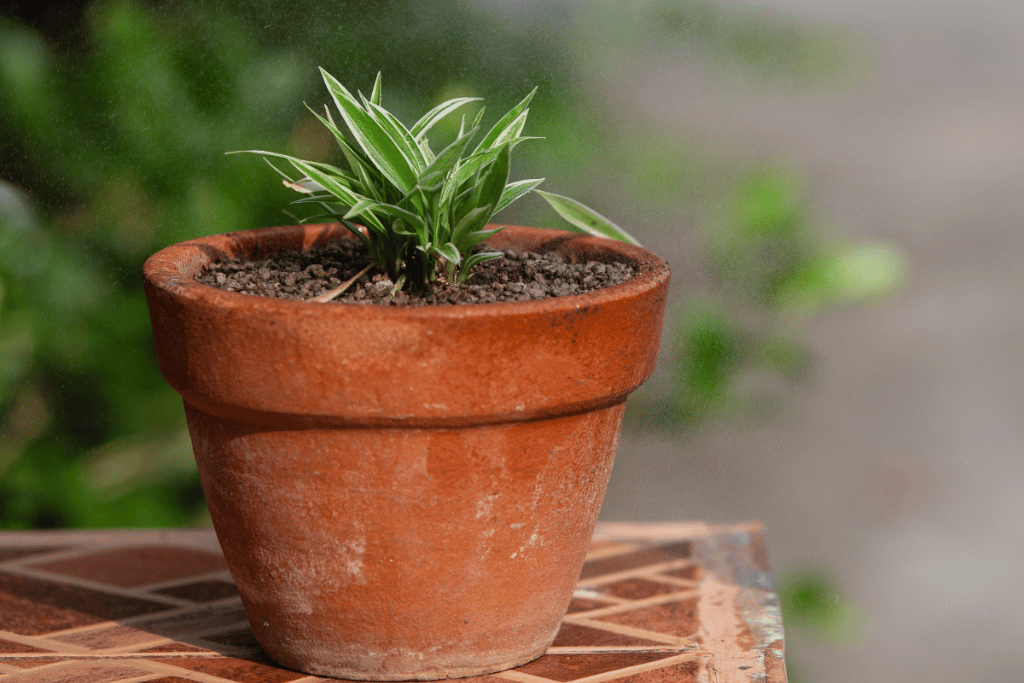
Caring for Spider Plant Seedlings: Nurturing the Promise of Growth

Welcoming new life into your home through spider plant seedlings is an exciting and heartwarming journey. These tiny green wonders hold the promise of lush foliage and beauty, and with your care and attention, they can flourish into thriving plants that bring life to your space.
So, let’s learn the art of caring for spider plant seedlings, ensuring their well-being and fostering their growth every step of the way.
1. Providing the Right Light
Light is the sustenance that fuels the growth of your spider plant seedlings. These young plants appreciate the gentle embrace of indirect sunlight, which mimics their natural habitat. Seek out a bright spot near a window where the sunlight is filtered through sheer curtains or gently diffused. If your home lacks ample sunlight, don’t worry – you can rely on artificial grow lights to provide the necessary illumination.
Hang the grow light a few inches above the seedlings, allowing them to bask in its radiant glow.
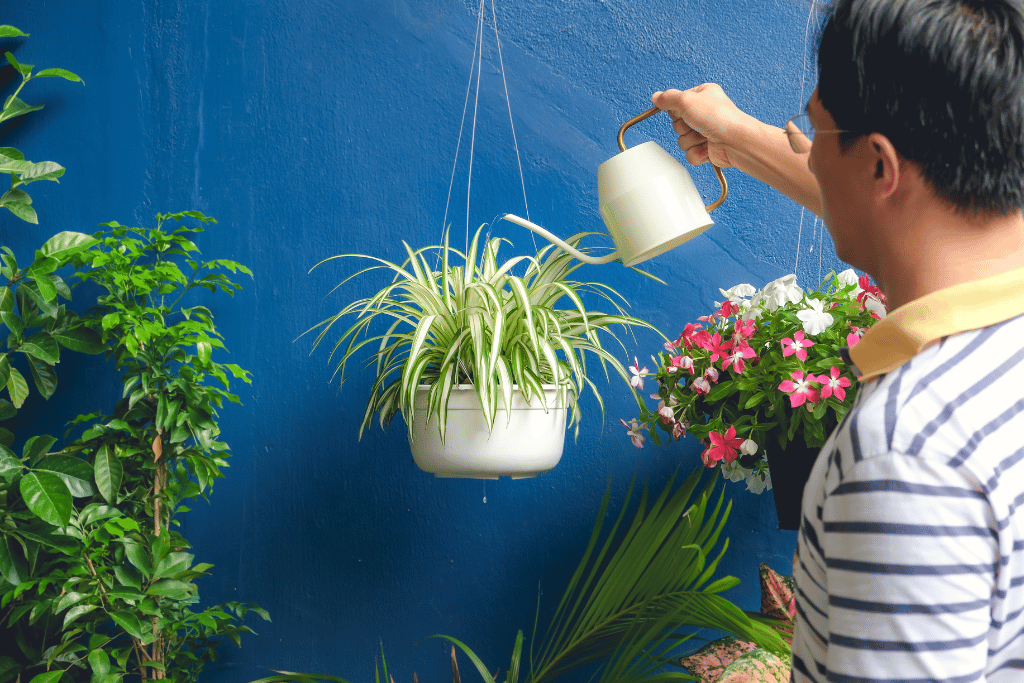
2. Watering with Tender Care
Watering is a critical aspect of caring for your spider plant seedlings. These delicate plants thrive in consistently moist soil, but they’re not fans of waterlogged conditions. Strike a balance by ensuring the soil remains damp without becoming overly saturated.
A useful tool in your caring arsenal is a moisture meter. Insert it into the soil to gauge its moisture levels. Aim for a reading that falls in the middle range, indicating that the soil is adequately hydrated. Keep in mind that overwatering can lead to root rot, so exercise caution and monitor the moisture levels regularly.
3. Nourishing Nutrients
As your spider plant seedlings continue to grow, their nutritional needs evolve. Fertilizing these young plants supports their development and ensures they have the necessary nutrients for optimal growth. Start fertilizing when the seedlings have grown around 4-5 leaves. Begin with a diluted half-dose of a balanced liquid fertilizer.
As the seedlings progress, gradually increase the strength of the fertilizer to provide them with a richer nutrient mix. Opt for organic indoor plant food or compost tea for a gentle and nourishing approach.
4. Potting Up with Care
As your seedlings thrive and gain height, they will inevitably outgrow their initial containers. Transplanting them into larger pots is a crucial step in their journey towards maturity. Choose pots that offer ample room for root growth, as cramped conditions can hinder their development.
When potting up, select a general-purpose potting mix that provides good drainage and aeration. Carefully remove the seedlings from their current containers, taking care not to disturb their fragile roots. Place them in their new homes, ensuring the base of the plants remains level with the soil’s surface. Gently pack the soil around the seedlings to secure them in their new environment.
5. Monitoring for Pests and Diseases
Vigilance is key in maintaining the health of your spider plant seedlings. Regularly inspect the leaves and stems for any signs of pests or diseases. Common pests that might target spider plants include spider mites, aphids, and mealybugs. If you notice any unwelcome visitors, take prompt action to remove them.
A simple solution of mild soap and water can be used to gently wash away pests. Keep a lookout for any discoloration, wilting, or spots on the leaves, which could be indicative of diseases. If necessary, consult gardening resources or experts to identify and address any issues that arise.
6. Cultivating a Supportive Environment
Creating an optimal environment for your spider plant seedlings goes beyond the basic care steps. Consider the humidity levels in your home, as spider plants appreciate moderate humidity. If the air is dry, especially during the winter months when indoor heating is prevalent, you can place a tray of water near the seedlings or use a humidifier to maintain a suitable humidity level.
7. Celebrating Growth Milestones
As your spider plant seedlings continue to grow and develop, take a moment to celebrate their growth milestones. Witnessing each new leaf unfurl and every inch of vertical growth is a testament to your nurturing efforts. Capture these moments with photos or journal entries, creating a record of their journey from tiny seeds to robust plants.
Caring for spider plant seedlings is a labor of love that bridges the gap between nurturing and witnessing vibrant growth. With the right balance of light, water, nutrients, and attention, you can provide these young plants with the optimal conditions they need to flourish. Remember, each leaf that unfurls is a testament to your dedication as a plant parent, and every bit of care contributes to the creation of thriving, verdant additions to your home.
Propagation Methods: Discovering Your Choices for Growing More Spider Plants

Expanding your collection of spider plants is an exciting endeavor that invites you to explore various propagation methods. These methods, each with its unique approach, enable you to create new plants from the existing ones, multiplying the beauty and vitality of your green companions. Here’s step-by-step insights into each process. Let’s embark on this journey of growth and abundance together.
1. Division: Sharing the Gift of Life
Division is a straightforward method of propagation that involves separating the “pups” or offshoots from the mother plant. As spider plants mature, they often develop these baby plantlets, also known as spiderettes. These plantlets are perfect candidates for division, allowing you to nurture them into thriving individual plants.
How to Divide Spider Plant Offshoots
- Begin by selecting a healthy mother plant that has produced offshoots.
- Gently remove the offshoots from the mother plant. You can carefully cut them off using sanitized scissors or pruners.
- Allow the cut ends to air dry for a day or two to prevent potential rotting.
- Once dried, you can choose one of the following propagation methods to root the offshoots and grow new spider plants: water propagation or soil propagation.
2. Water Propagation: Embracing the Beauty of Hydrocultures
Water propagation offers a captivating glimpse into the process of root development. It involves placing the offshoots in water, allowing them to grow roots before transplanting them into soil. This method provides a visual delight as you observe the roots taking shape in the transparent container.
The Steps to Water Propagation of a Spider Plant
- Fill a clear glass jar with water, ensuring that the bottom of the offshoots is submerged while the leaves remain above the water’s surface.
- Place the jar in a location with indirect sunlight. Sunlight filtering through a sheer curtain is ideal.
- Change the water every few days to keep it fresh and oxygenated.
- After a few weeks, you will notice roots beginning to sprout from the offshoots. Once the roots are a couple of inches long, your spiderettes are ready to be transplanted into soil.
3. Soil Propagation: Rooting in the Earth’s Embrace
Soil propagation takes the offshoots from water to the nurturing embrace of soil. This method allows the plantlets to establish their roots directly in the soil, fostering a sturdy foundation for future growth.
The Steps to Soil Propagation of a Spider Plant
- Prepare pots with well-draining soil. Soilless potting mix enriched with perlite is an excellent choice.
- Gently plant the offshoots in the soil, ensuring that the bottom part is covered while the leaves remain above the surface.
- Water the soil gently after planting to settle it around the roots.
- Place the pots in a location with indirect sunlight, allowing the young spider plants to acclimate to their new home.
- Continue to care for them by maintaining proper moisture levels and providing suitable light conditions.
4. Stolon Method: Following Nature’s Path
The stolon method aligns with the natural growth pattern of spider plants. Stolons, also known as runners, are horizontal stems that produce new plantlets. These plantlets develop along the stolons and can be used to propagate new spider plant varieties.
Using the Stolon Method for Propagation of a Spider plant
- As the stolons produce plantlets, allow them to grow until they have a few leaves of their own.
- Once the plantlets are established, you can choose to leave them connected to the mother plant or detach them gently.
- If you choose to detach them, ensure that each plantlet has a few leaves and roots of its own.
- Plant the detached plantlets directly into pots with well-draining soil, following the same steps as soil propagation.
- Care for the newly potted plantlets as they establish themselves in their new environment.
Final Words
This concludes our guide on how to grow a spider plant from seed. It’s a journey that connects us with the essence of life itself. From collecting and sowing seeds to nurturing seedlings and watching them flourish, each step is a celebration of nature’s beauty and resilience. As you venture on this adventure, you’ll not only grow plants but also cultivate a deeper appreciation for the wonders of the natural world. Happy planting!
FAQS – How to Grow a Spider Plant
Can I Enhance Spider Plant Variegation Through Nutrient Manipulation?
Variegation in spider plants is influenced by light exposure and genetics, but nutrient manipulation can also play a role. By slightly reducing nitrogen levels and increasing phosphorus and potassium, you can encourage stronger variegation. However, maintaining a balanced nutrient profile is crucial to prevent stress-induced issues.
How Can I Optimize Spider Plant Growth in Low-Light Conditions?
Spider plants thrive in bright indirect light, but in low-light settings, select cultivars with higher chlorophyll content. Supplement with full-spectrum grow lights, strategically placed mirrors to reflect light, and light-reflective surfaces around the plant to maximize light absorption.
What’s the Role of Mycorrhizal Fungi in Spider Plant Cultivation?
Introducing mycorrhizal fungi to the spider plant’s root zone can enhance nutrient uptake and overall plant health. These beneficial symbiotic fungi form a connection with the plant’s roots, improving mineral absorption and water uptake, leading to better growth and stress resistance.
Can Spider Plants Adapt to Hydroponic Systems Successfully?
Spider plants can adapt to hydroponic systems, but certain adjustments are necessary. Use a well-balanced nutrient solution with slightly lower nitrogen levels. Ensure proper aeration of the root zone and provide support for the arching leaves to prevent breakage as they won’t have the support of soil